
The shirt Matt Smith wears, although it is a Paul Smith PS shirt, has visible buttons when it is worn (see right).
Studying the pictures, the buttonstand needs to be a full three columns of squiggles wide, lined up accurately on either edge (see right, inset). So I need to bear this in mind when I am reworking the fabric available.
 The original shirt has a concealed buttonstand, making a very clean line (see left).
Sometimes these concealed stands are tacked halfway between the holes to help keep it in place, but thankfully this shirt does not have that, which should make things a little easier.
This is very simply created with a single line of stitch which basically forks the shirt front into two equal width fold: the lower has the buttonholes; the upper hides them from view.
 The best way to show how the fabric is folded and sewn is in this diagram (see left).
I have a couple of shirts to do modifications on, one for myself and a couple for friends. Mine is a XXL shirt, and both of my friends’ ones are XL in size.
Before starting work I need to take a little time to look the shirts over and asses what to do and the current structure of the shirt.
To my surprise I noticed something curious, and a little annoying!

This makes my work a little harder, since it means I cannot use the existing buttonholes for the XL size, and my approach for each will be very different.
 Either-way, I need to unpick the existing placket to see what I have to work with. There is a single line of stitch which makes this, and I need to release the top and bottom so I can press it out flat (see left).
Now what I do depends on how the shirt was originally made.
Buttonstand for XL
 Both the XL shirts I have have the pattern falling in exactly the same place, with the edge of the existing buttonstand cutting a column of squiggles in half. This renders the existing buttonholes useless to me.
I therefore have to cut them clean off, which I do as close to the holes as I can (see right).
 I then press everything out flat and see where the column of squiggles line up with the front of the collar stand, as this will determine where I start from. I can then press the left edge of the new buttonstand and the width of it to three columns wide.
All I then need to do is pleat what is left to create an edge between the new buttonstand and the shirt front.
 It was difficult to show this in photos, but I have done another diagram to show what I mean (see above). This is what I am aiming to achieve for both sizes of shirts.
I then had to re-sew the buttonholes through the new stand I had created (see right). I kept the discarded strip of original buttonholes and use this as a position guide.
For my own reference my settings on my buttonholer were:
Length=halfway Bight=H Space=A.
 The finished result came out pretty well (see left).
I am very pleased that the front edge of the buttonstand lines up perfectly with the collar stand.
The second XL shirt I had to do modifications to was the alternative blue version, which Matt Smith has been seen wearing in some of the later episodes, as well as the new series teaser trailer.
Buttonstand for XXL
The XXL shirt has the existing buttons in the right position, so this one is a little easier to do.
Again I unpick the existing buttonstand and open it out to reveal as much fabric as possible, which I then press out flat.
 I then fold and press the edges of the new buttonstand to three columns of pattern, with the existing buttonholes in the centre.
It is then a relatively simple process to re-pleate the rest of the edge to create position the new buttonstand in the correct place, following the above diagram as closely as I can. This is stitched through all layers to the front (see right).
 It does, however, finish with the edge just short of the collar stand (see left), but this isn’t visible when the shirt is buttoned up.
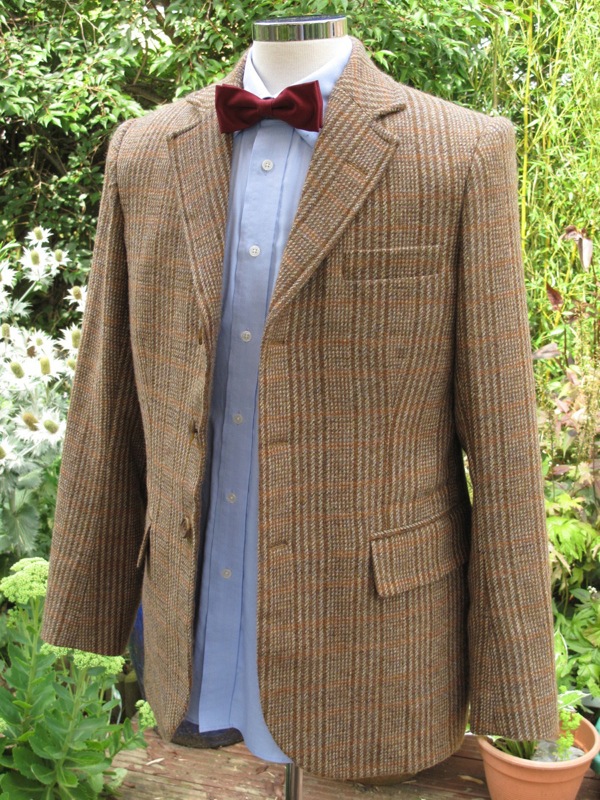


No comments:
Post a Comment
Note: only a member of this blog may post a comment.